We are living in a world where managing approvals, reviews& revisions for your 3D projects are huge. For no more confusion over version numbers or lost updates. This is the power of Collaborative Lifecycle Management (CLM) within the Open 3D Experience Platform. CLM empowers you to track changes, create branches, and effortlessly merge revisions, all while fostering seamless collaboration throughout your design process.
HARNESSING THE POWER OF COLLABORATIVE LIFECYCLE MANAGEMENT:
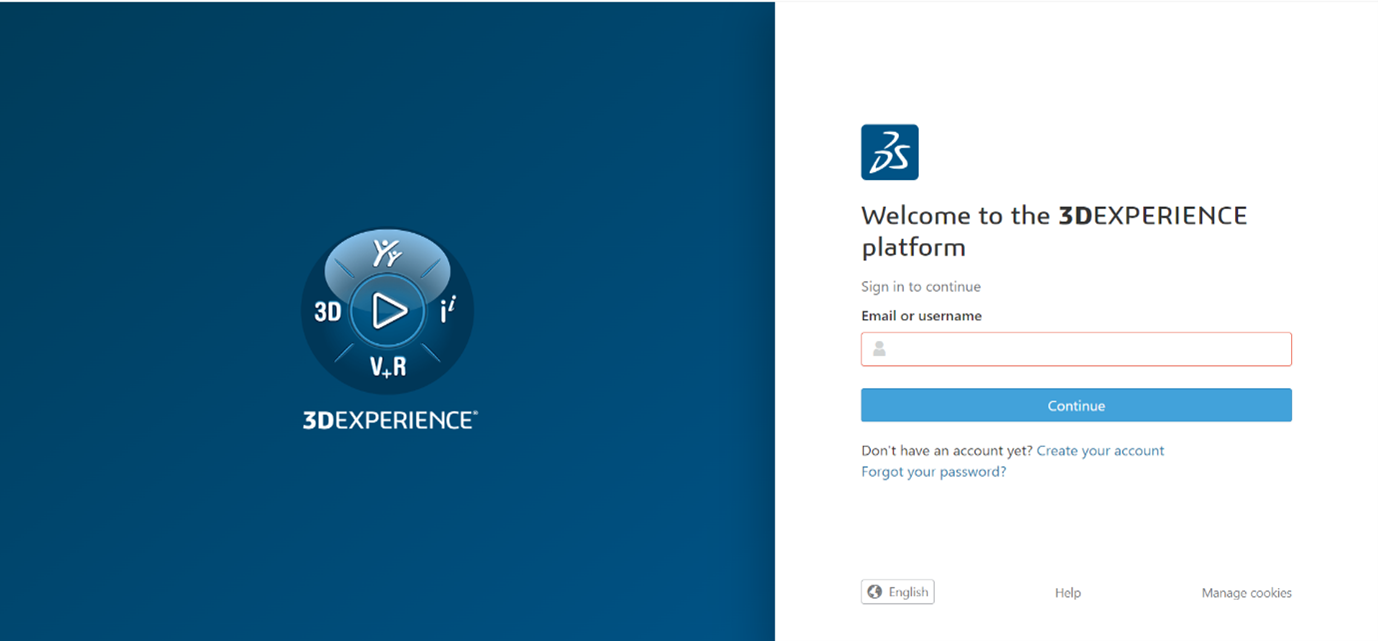
The Open 3D Experience Platform offers a robust set of tools accessible through online internet platforms like Google Chrome. By leveraging your 3D Passport credentials, you can unlock the full potential of CLM.
HERE ARE THE GUIDED STEPS TO GET STARTED TO CLM:
1. Access to Collaborative Industry Innovator role
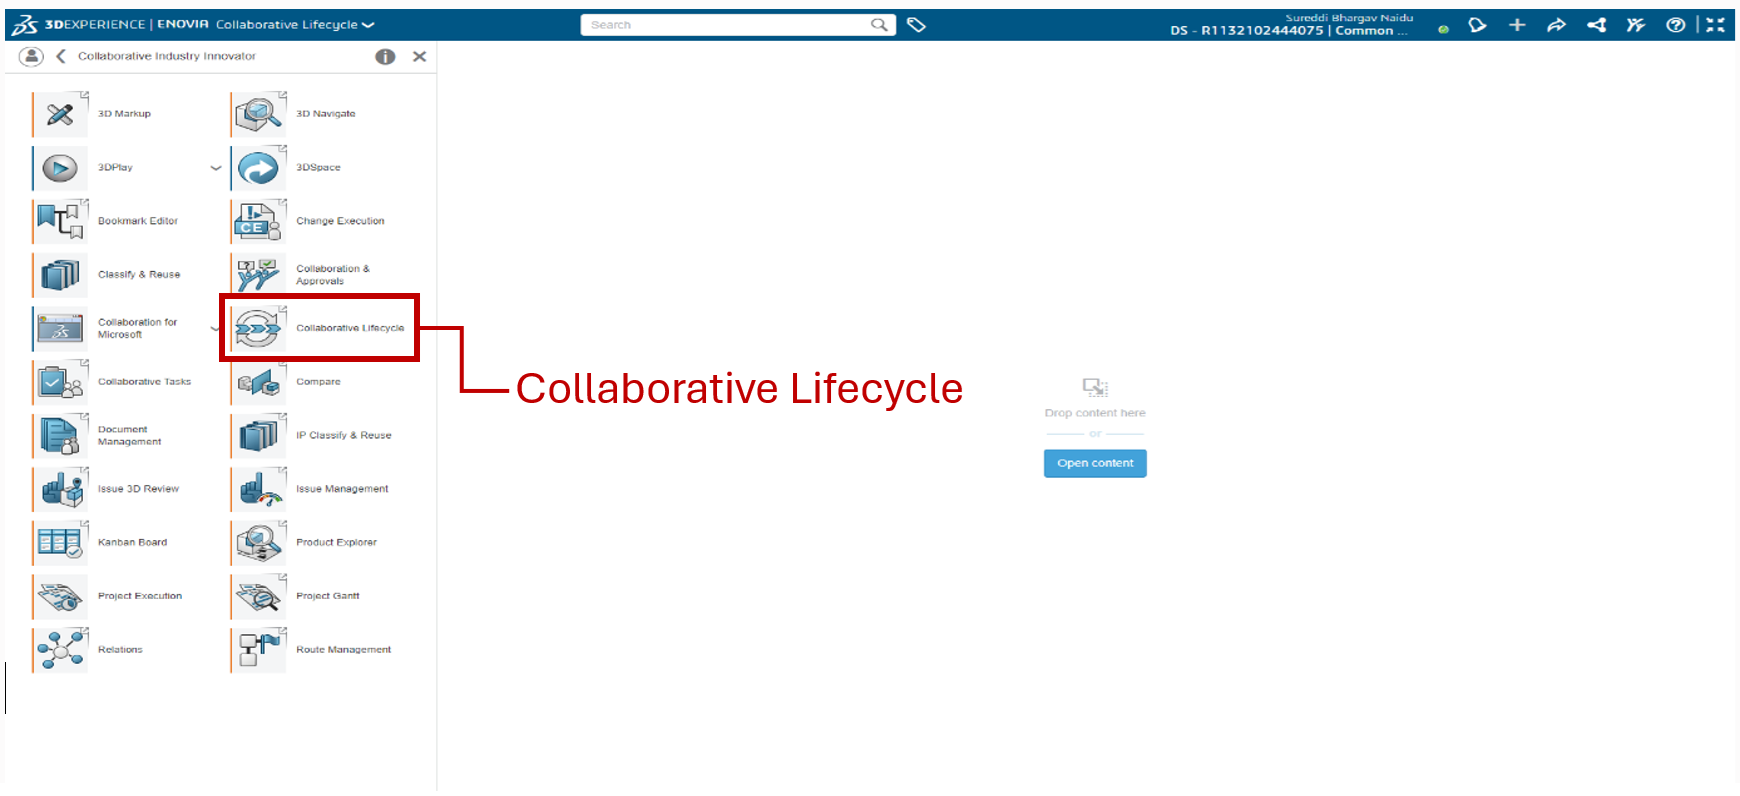
Upon logging in, navigate to the Compass icon on left top of the page. This will grant you access to the Collaborative Industry Innovator role, where you will find all the apps in the CII.
2.Launch the Collaborative Lifecycle app
Double click on the Collaborative Lifecycle Management app it will automatically launch within the platform.
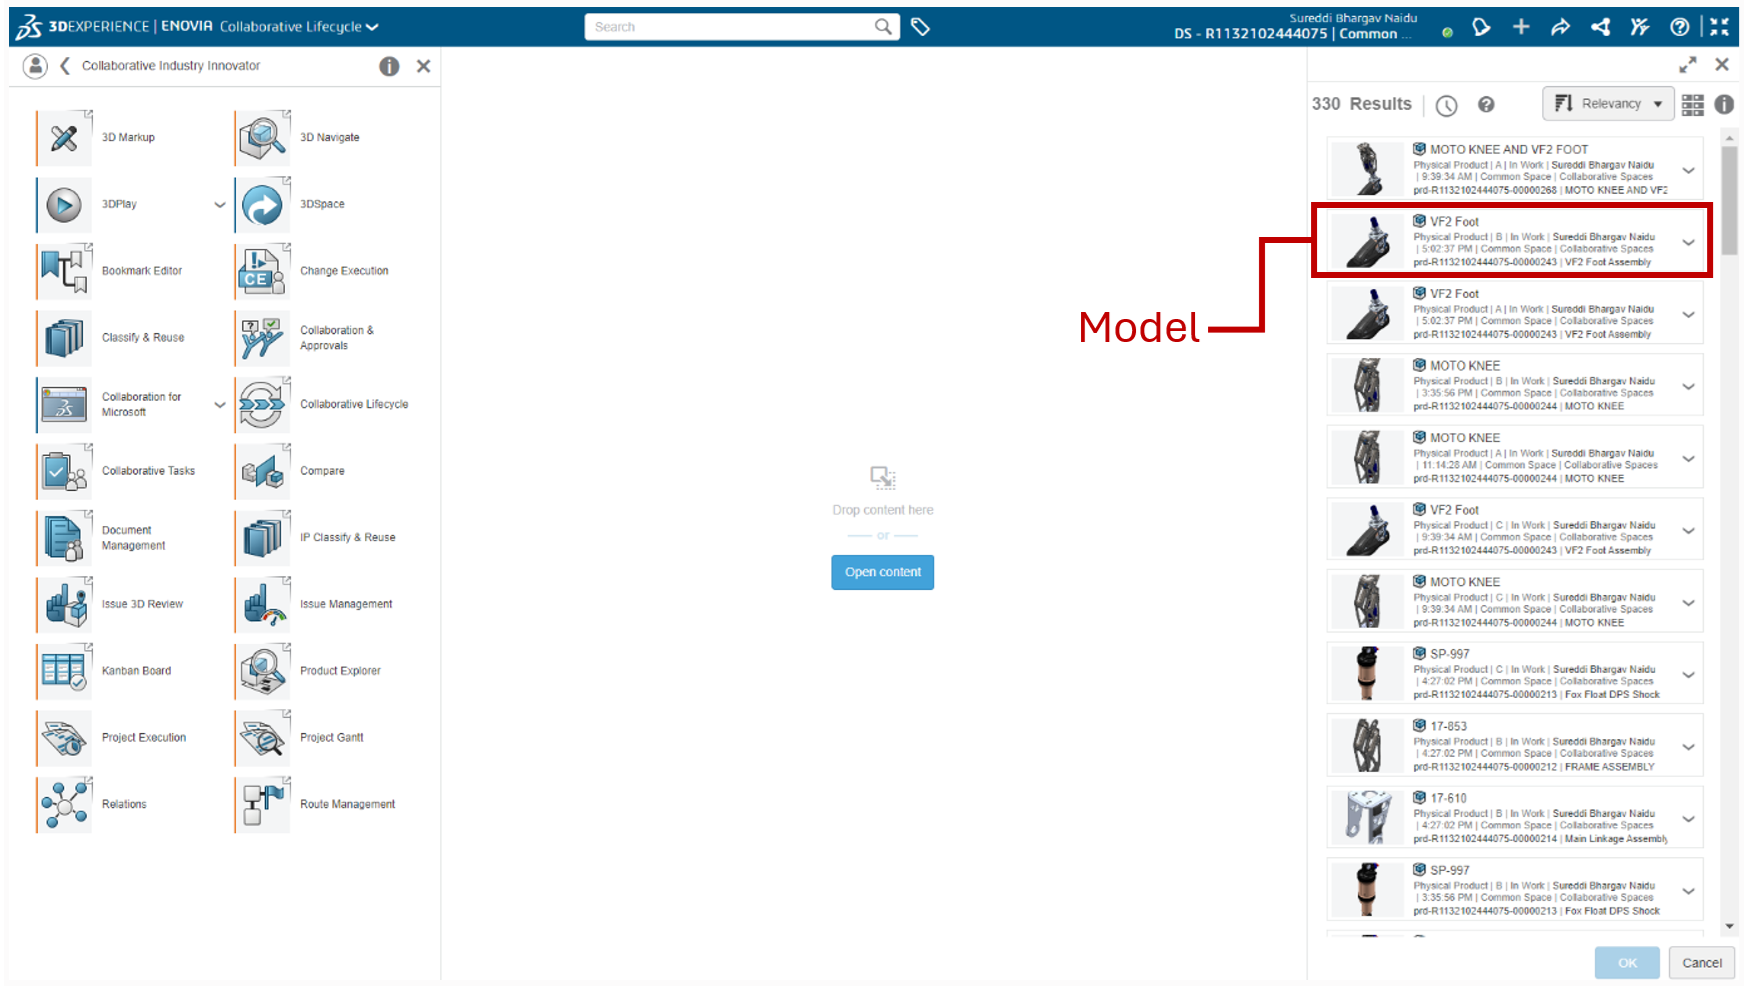
3.Open your Models
You can directly access the models that are uploaded to your bookmark using 3dx SolidWorks or you can add the models to bookmark directly from the device folders. Revisions help us to track design changes and store the history and evolution of our products.
4. Changing the Maturity States
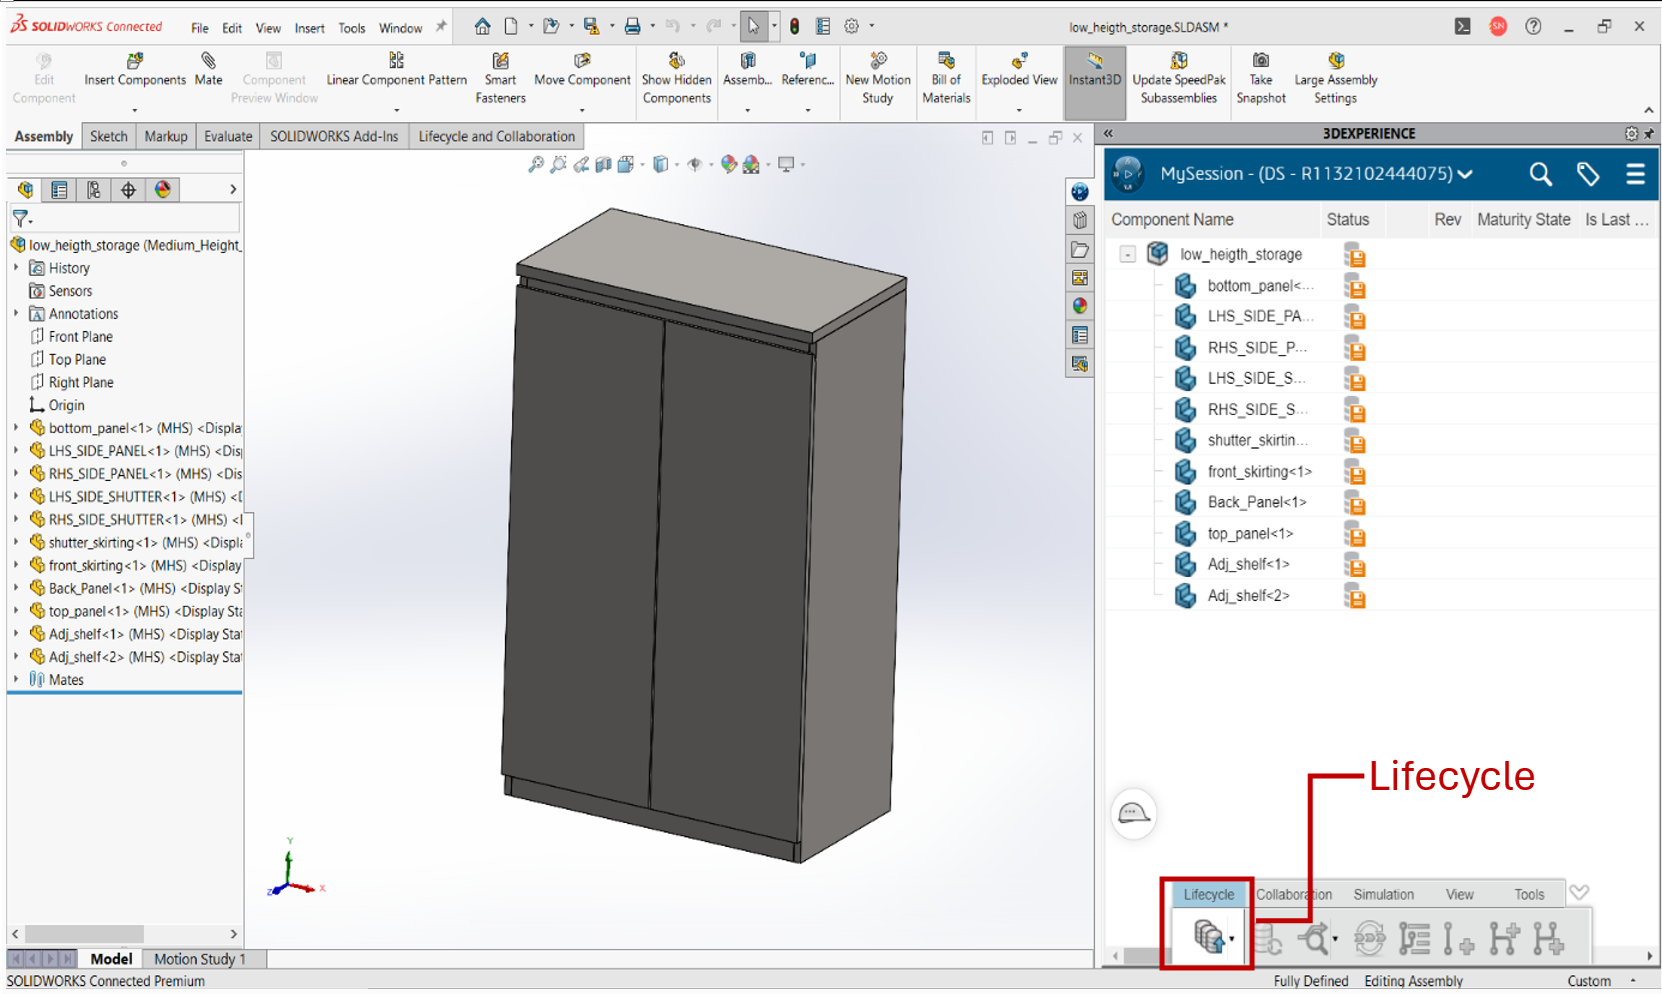
Open the part model or assembly that is to be changed using SolidWorks connected. On the task pane tab, we can that the connected model with its maturity state, revision, component status etc. we can also change the maturity state and add revisions within the SolidWorks.
• Here the assembly model is not saved to the 3dx platform, now click on the “Save Active Window” in Lifecycle tab.
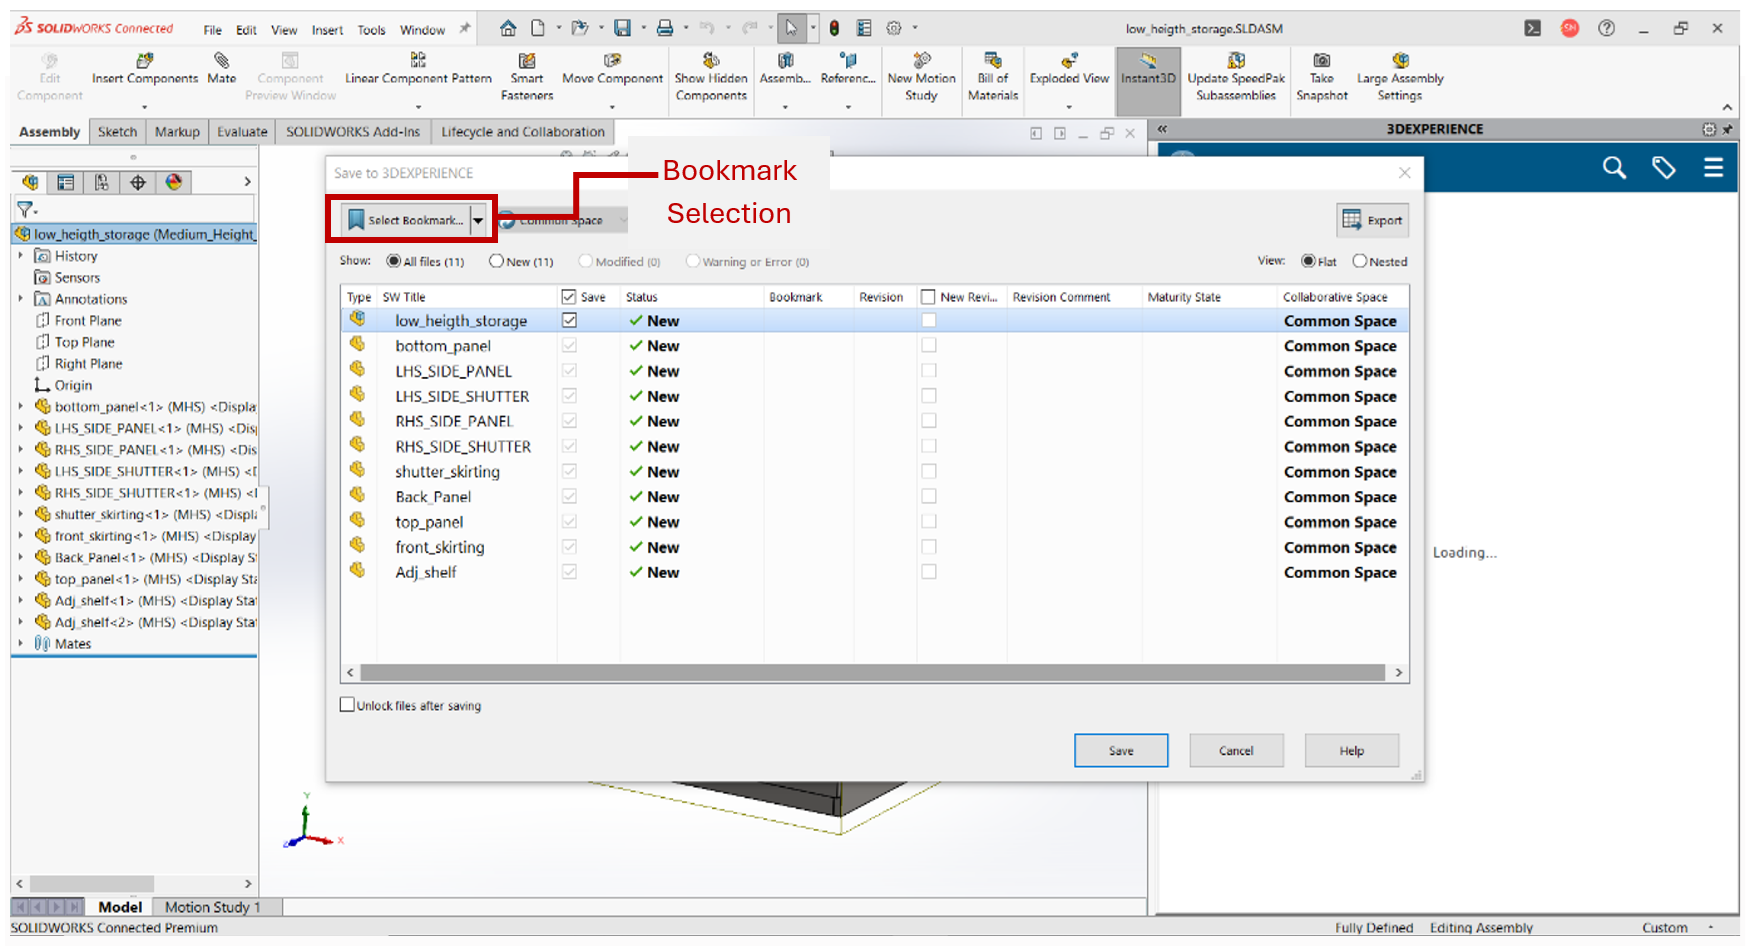
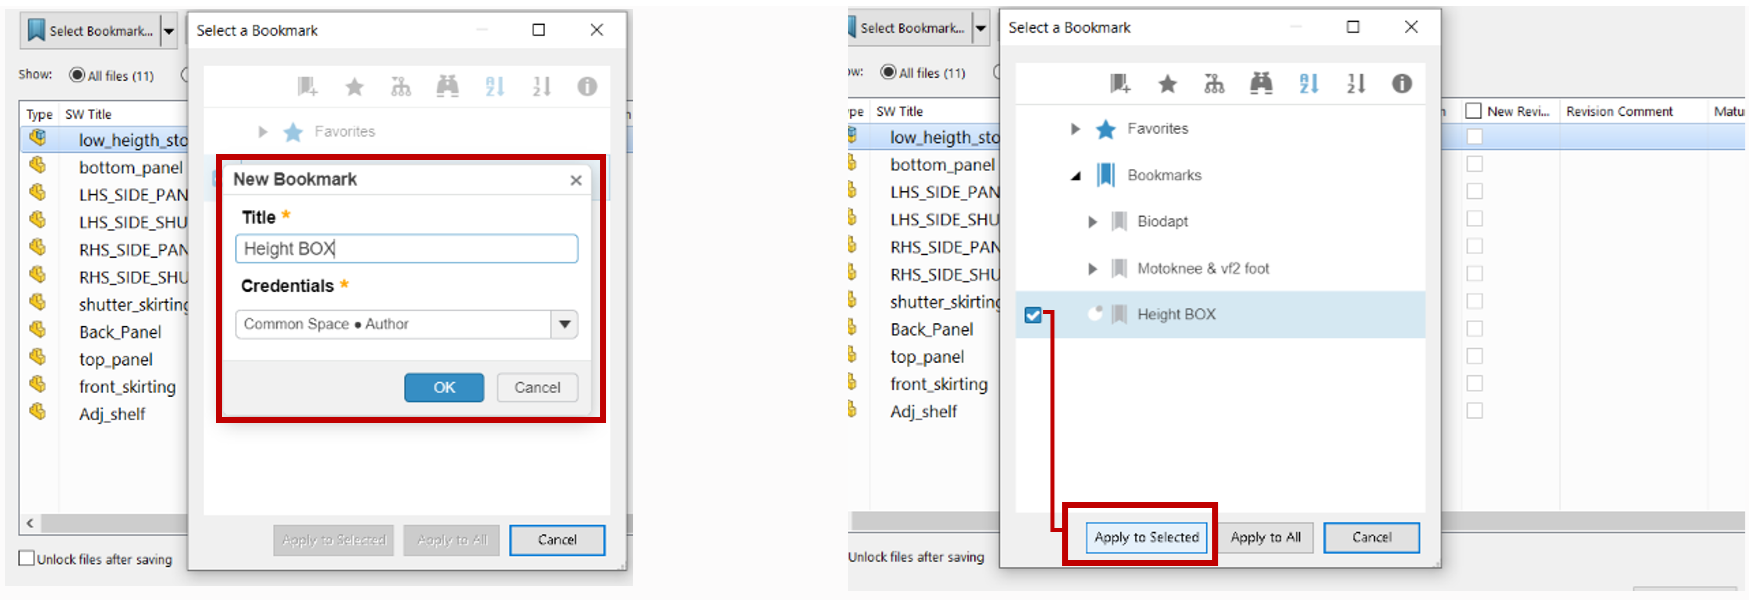
• Now click on the Select Bookmark and add new bookmark to save the batch. After adding new bookmark click Apply to Selected.
So, the assembly will be saved to the desired bookmark.
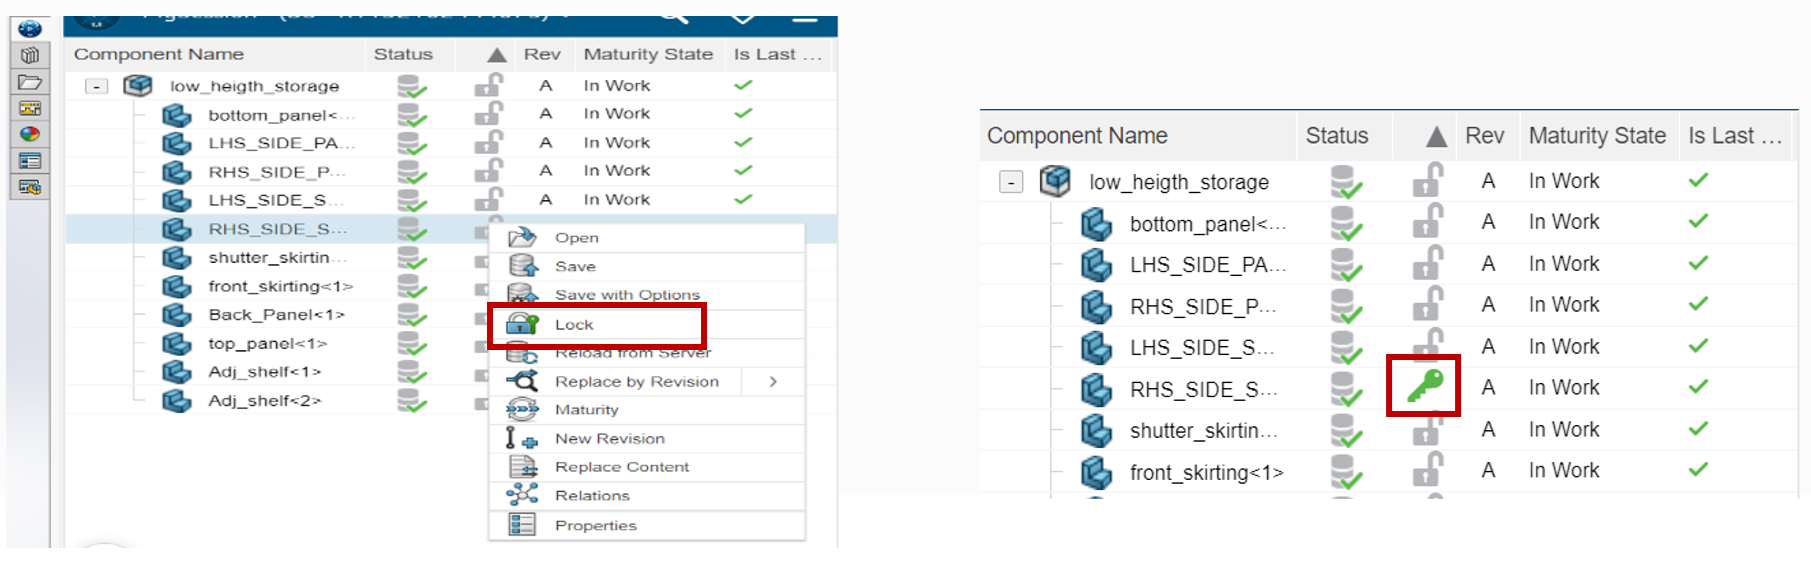
If we want to edit any part in the assembly, then we must lock the part and make the desired changes.
• Right click on the part which is to be changed and click the Lock option, this will automatically lock the part.
Now we can open the part and edit it. After competition, the status will be changed so then we must save the part and assembly.
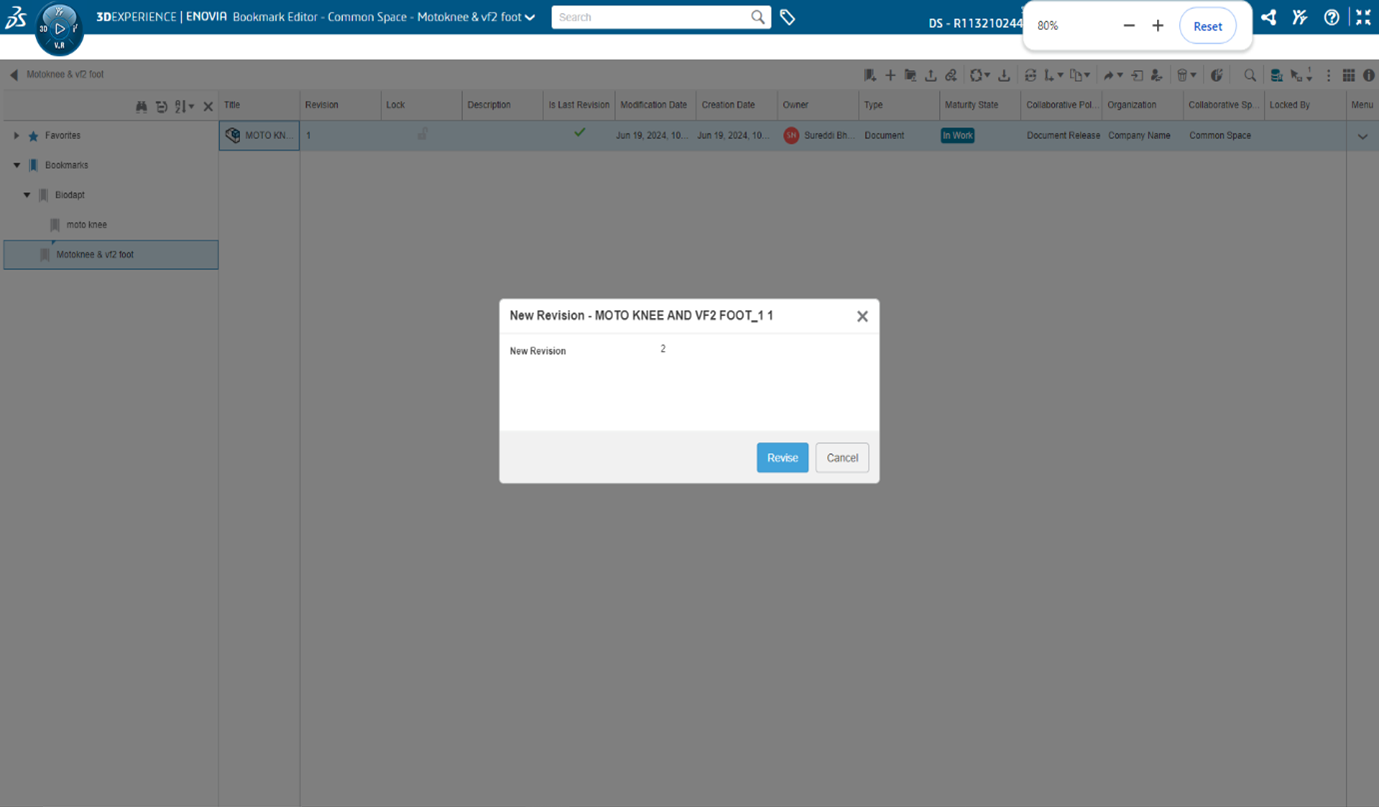
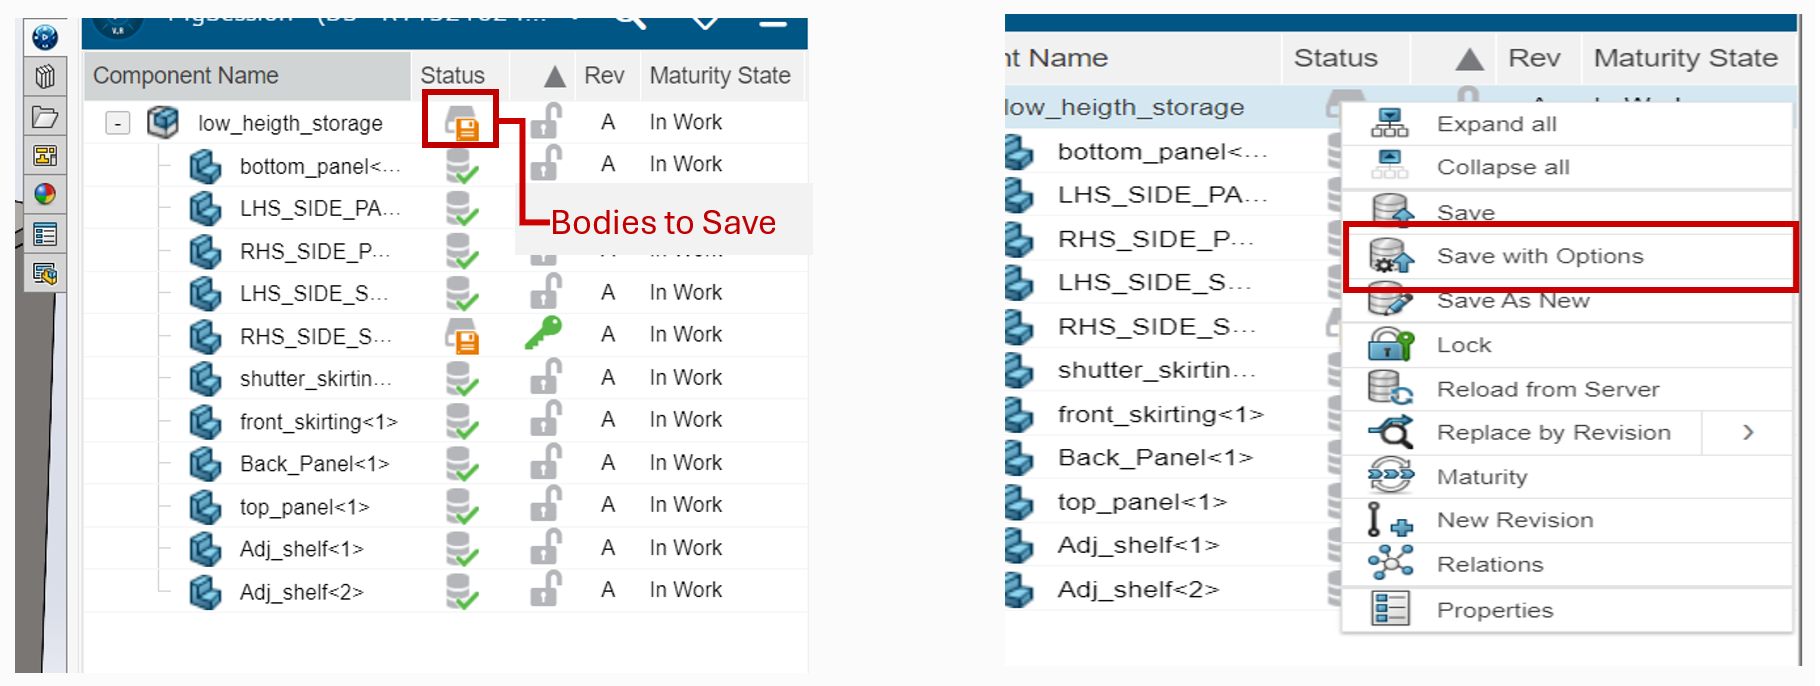
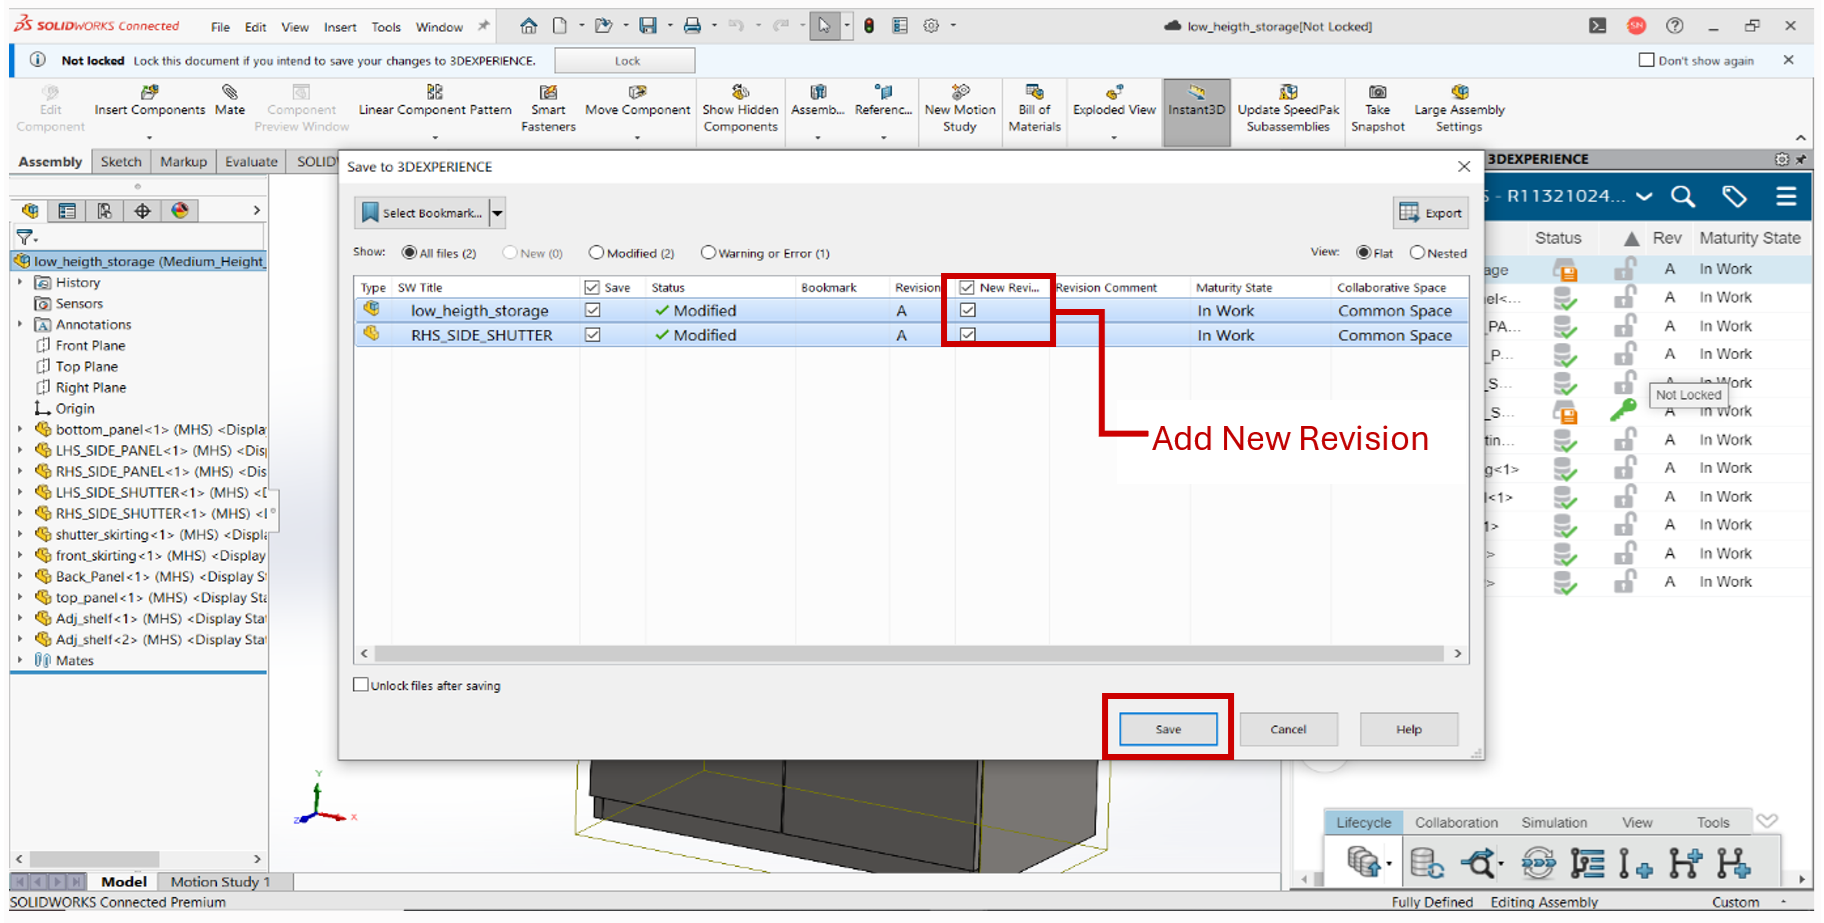
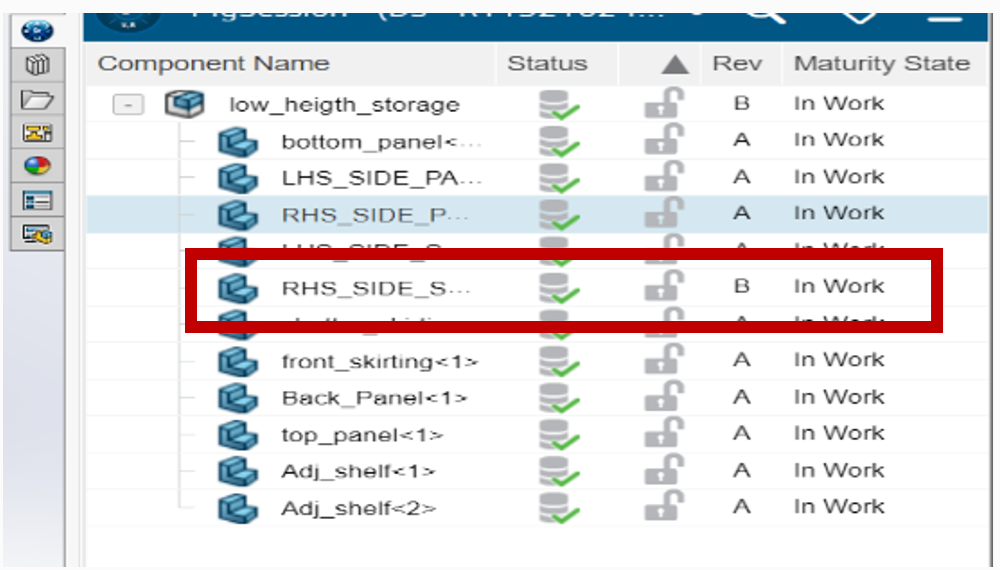
• Click on the Save with Options to save the part and assembly and click on New Revisions to add revisions and click Save.
After adding new revisions, we see the revisions are added to the edited part and Assembly.
We can also change the maturity state of the parts from one state to other.
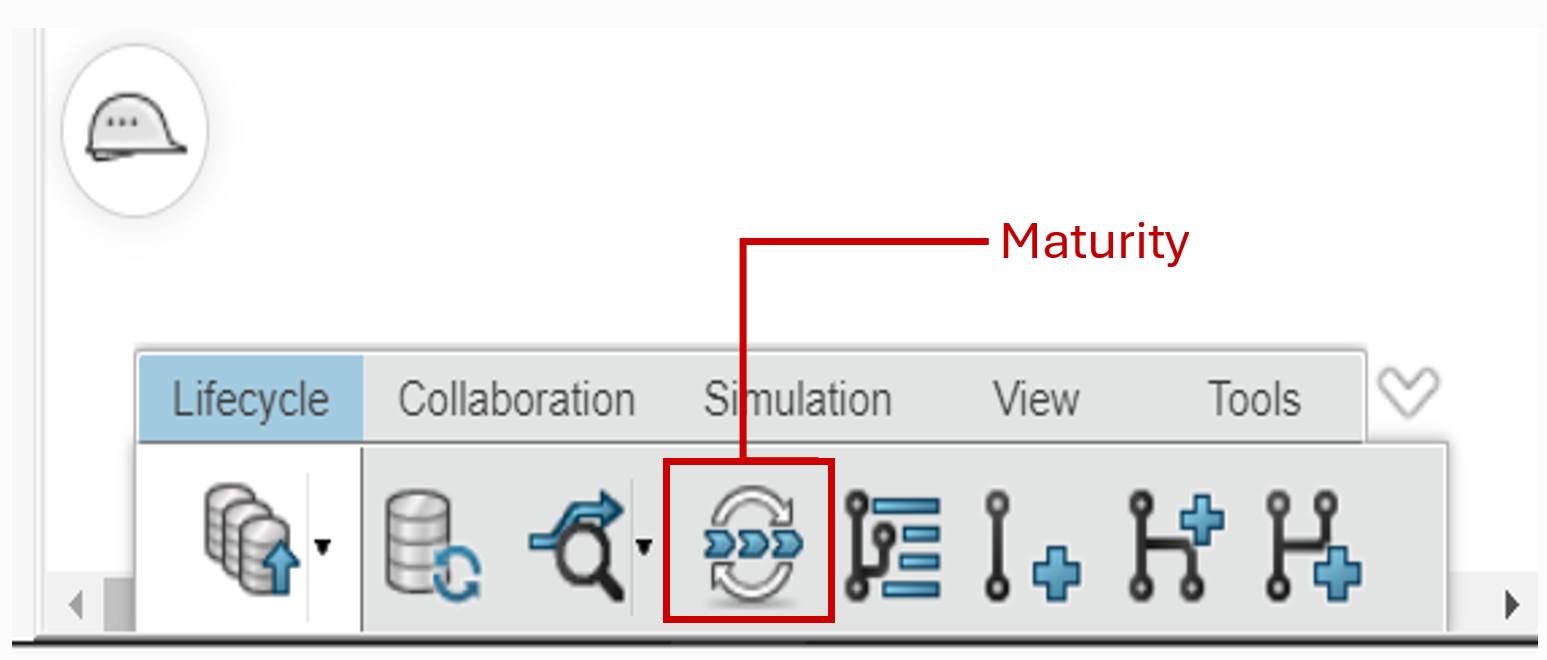
Click on the assembly or part so that the Lifecycle options will be highlighted.
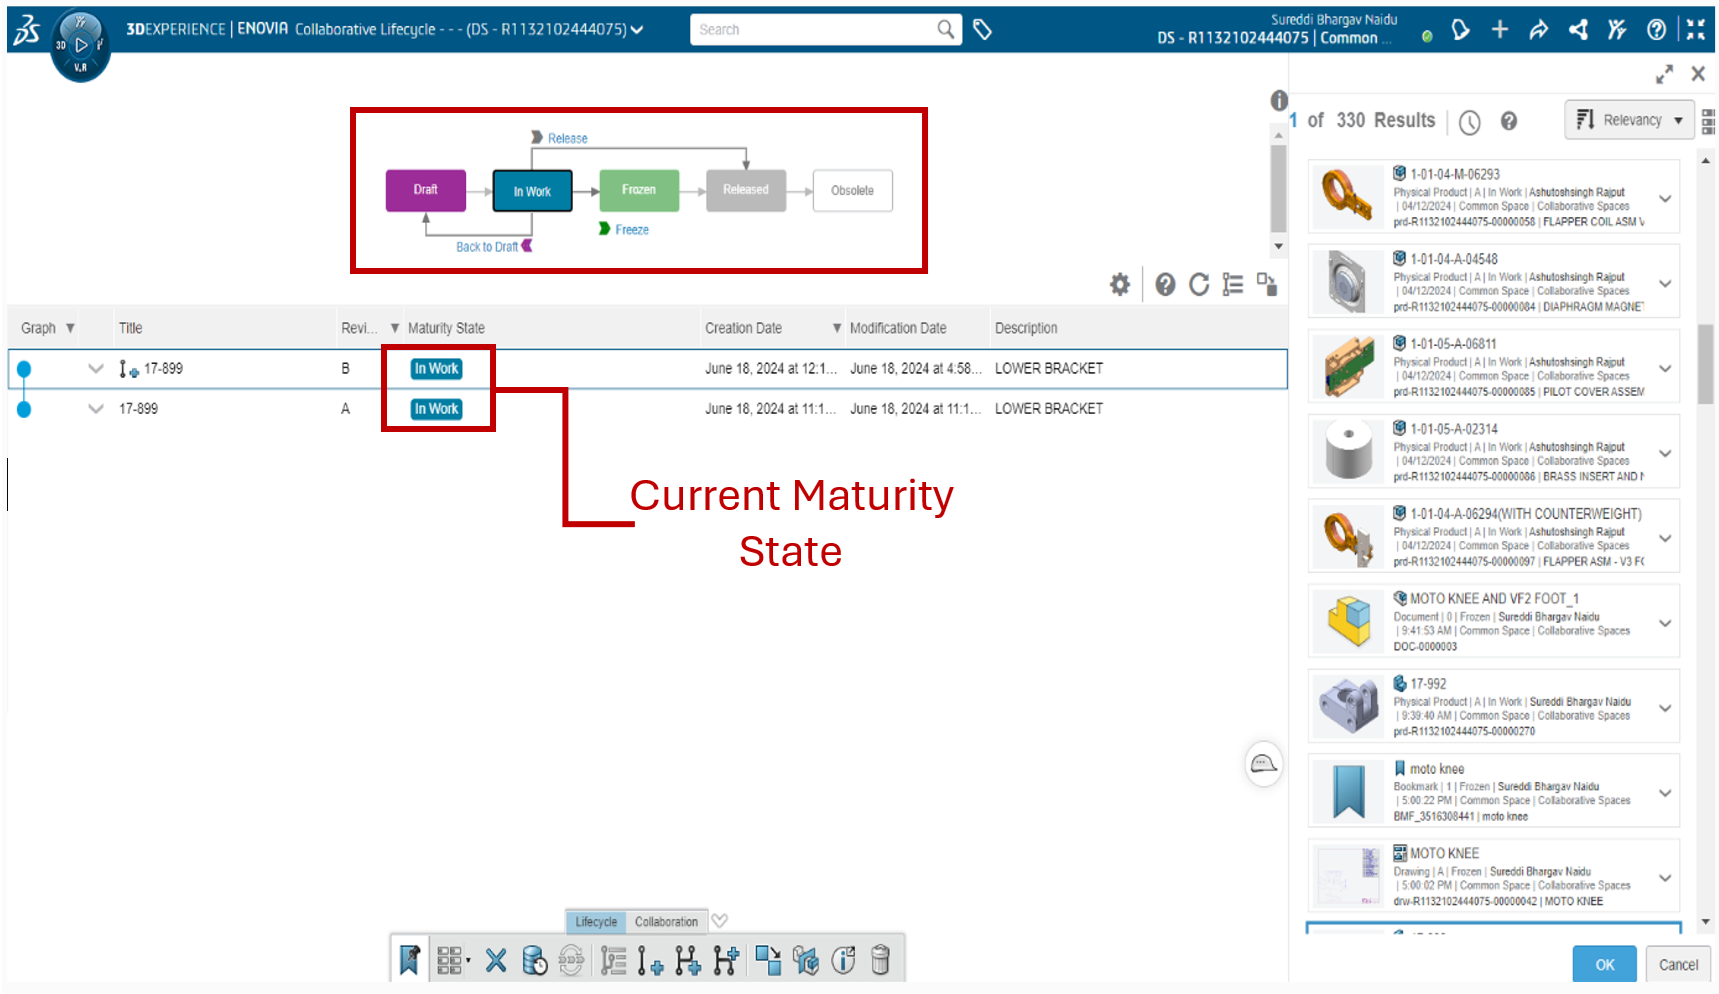
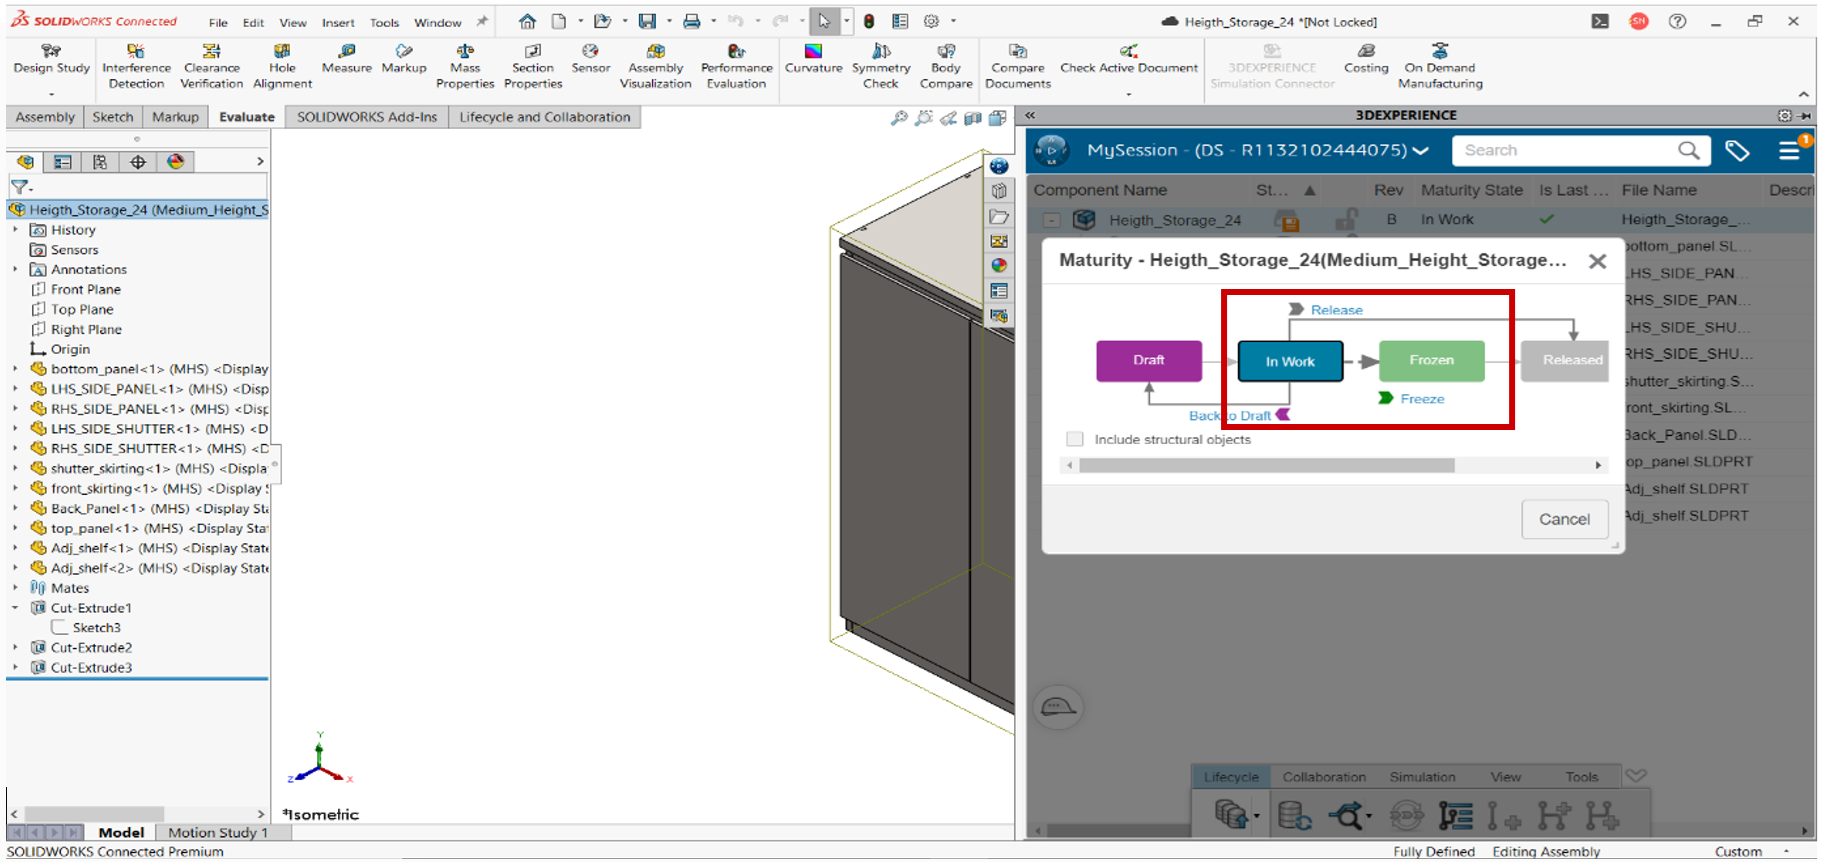
The lines with arrows from one Maturity state to another show which Maturity states the content can move to, from that Maturity state. A right-pointing arrow means the content can be promoted to that Maturity state. A left-pointing arrow means the content can be demoted to that Maturity state. The arrows between Maturity states are called transitions.
Click on the part and then on the Maturity icon it will show the flow maturity states.
The part was in the state of In Work to set it to Frozen click in the Freeze icon and this will prevent anyone in your Collaborative space from making a design change to the ROD component. The Frozen status provides the ability to perform a design review, so no one can amend the model.
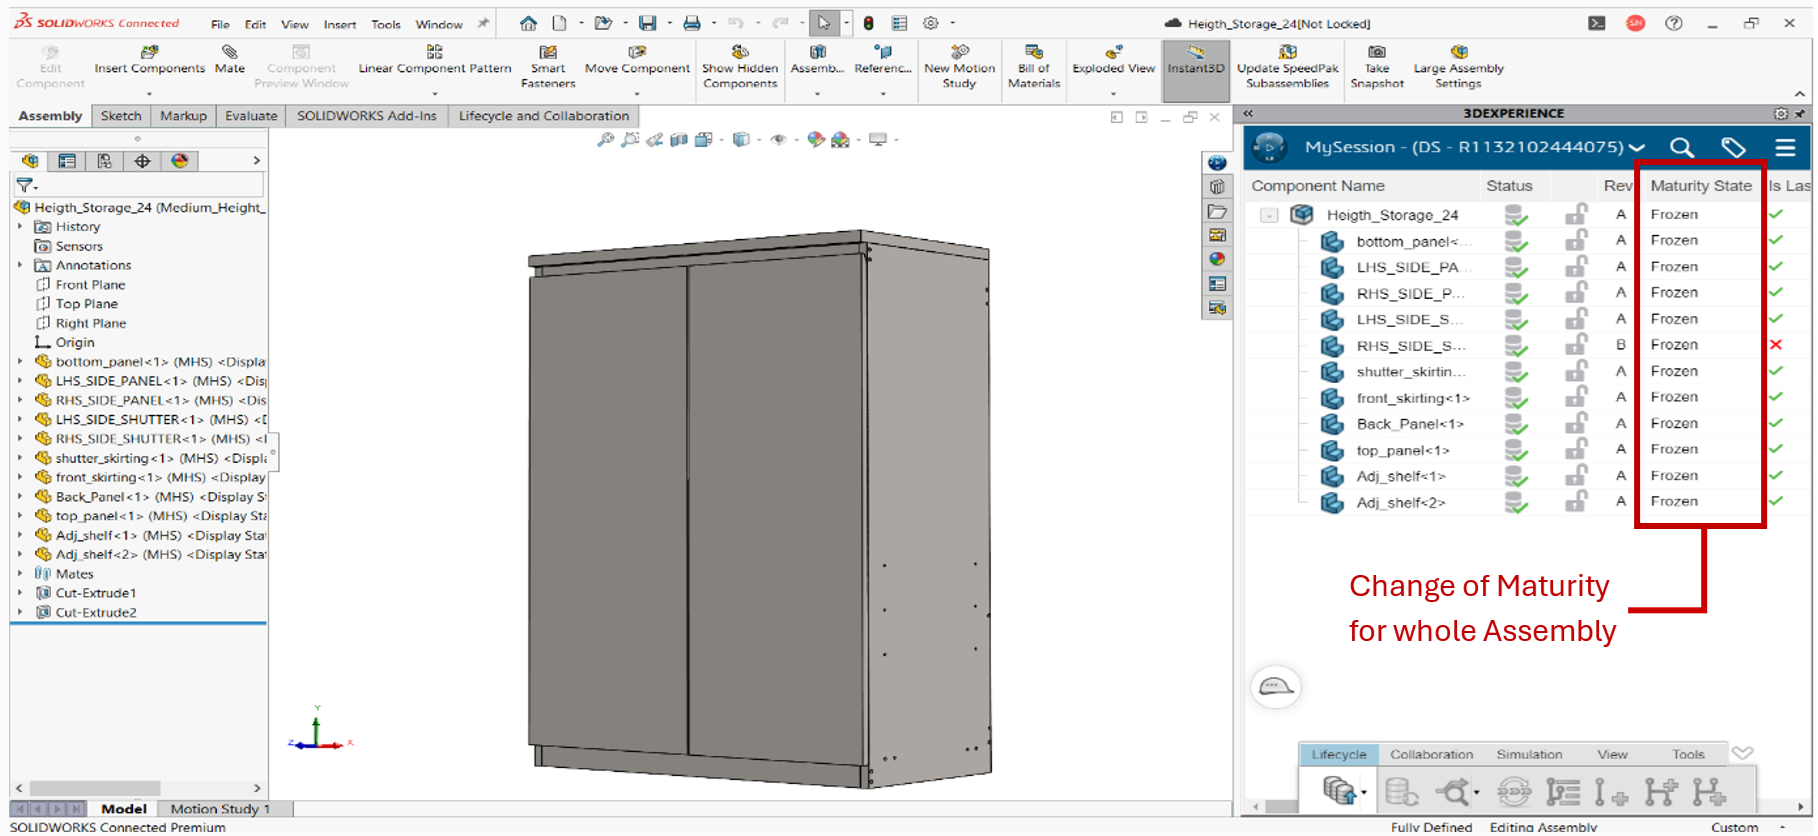
Now click on the whole assembly, click on Maturity icon, and set it to Freeze it update all the parts into Frozen Maturity state.
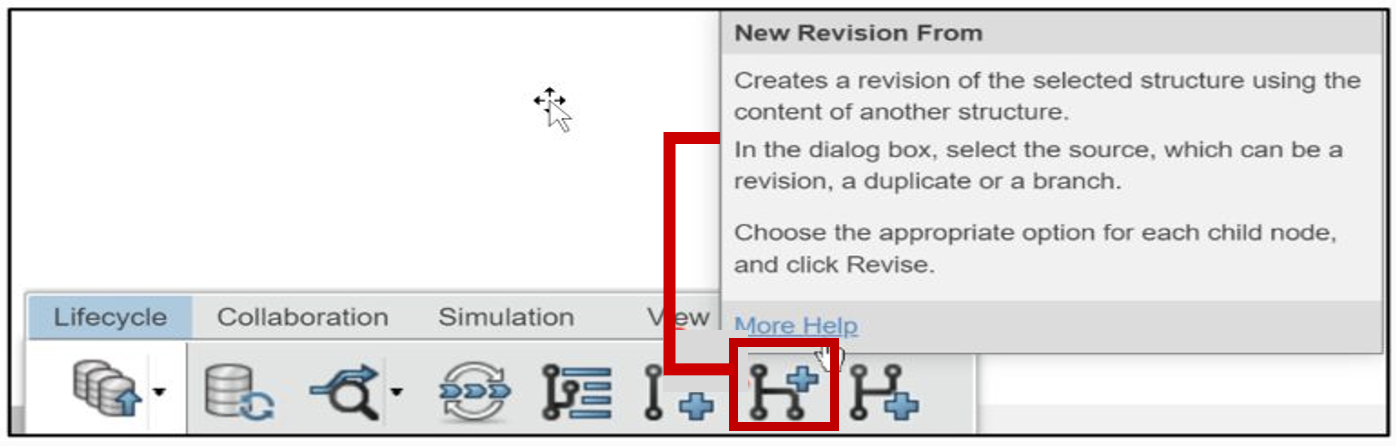
New Revision From: Create a revision of the selected structure using the content of another structure. In the dialog box, select the source, which can be a revision, a duplicate or a branch. Choose the appropriate option for each child node and click Revise.
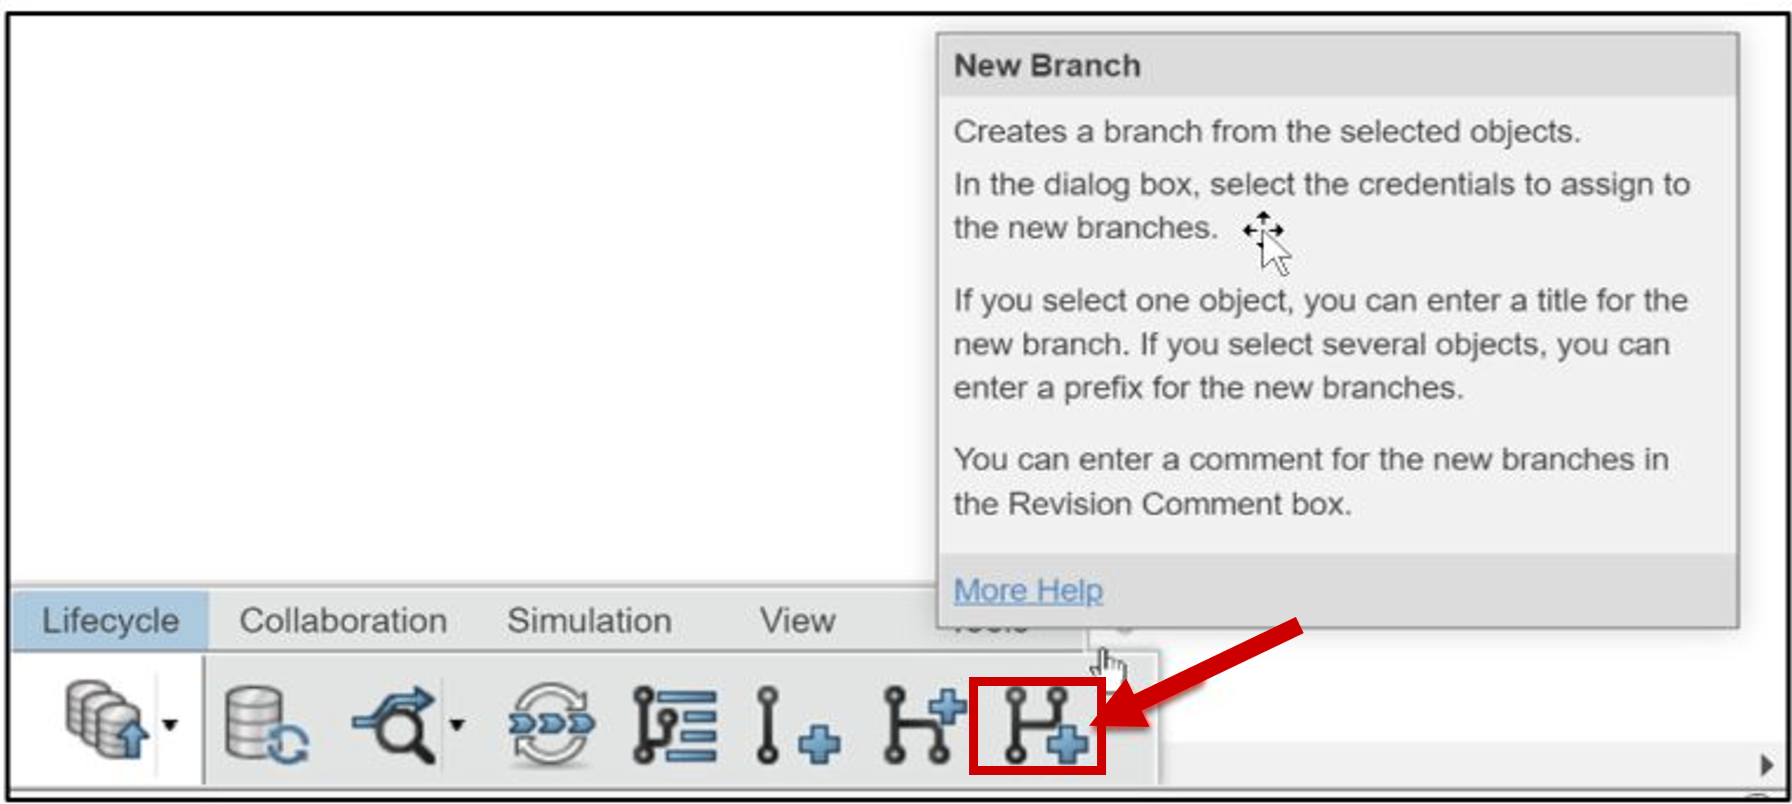
New Branch: Creates a new branch from the selected object. In the dialog box, select the credentials to assign to the new branches. If you select one object, you can enter a title for the new branch. If you select several objects, you can enter a prefix for the new branches. You can enter a comment for the new branches in the Revision Comment box.
Beyond the Basics: Unlocking the Full Potential of CLM
While the above steps provide a foundational understanding of CLM, its capabilities extend far beyond basic revision control. This powerful tool allows you to:
• Create and Manage Branches: Facilitate parallel development by creating separate branches for different design iterations. This enables exploration of alternative concepts without jeopardizing the core model.
• Effortless Merging: Seamlessly integrate changes from various branches back into the main model, ensuring all team members are working with the most up-to-date version.
• Enhanced Collaboration: CLM fosters a collaborative environment by providing a clear historical record of changes, revisions, and contributors. This promotes transparency and streamlines communication within your design team.
Conclusion
By incorporating Collaborative Lifecycle Management into your workflow, you can revolutionize the way you manage revisions and propel your 3D design projects to new heights. With its intuitive interface and comprehensive features, CLM empowers you to maintain control, streamline collaboration, and unlock the full potential of your design vision.