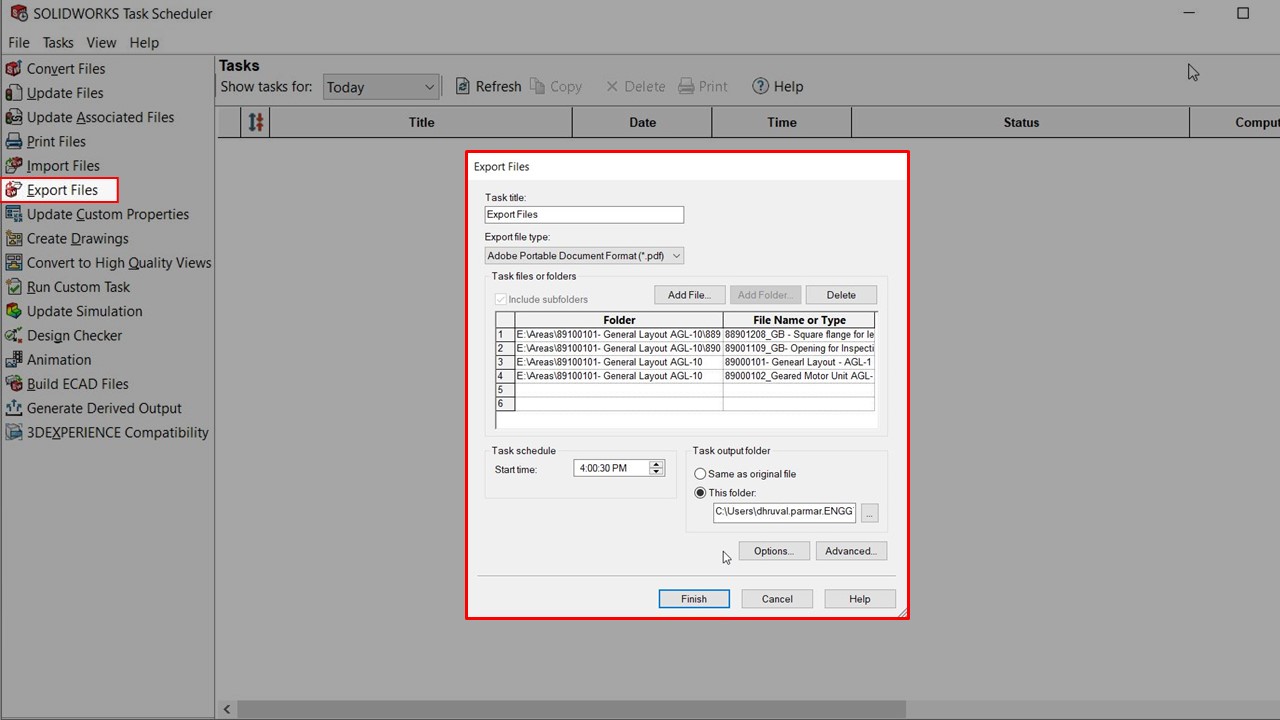
As you can observe in the provided image, I have created a basic sheet metal part. My objective now is to perform nesting operations to optimize the arrangement of these sheet metal parts, considering the specified quantity and sheet size. This optimization will help determine the percentage of scrap material and the maximum number of parts that can be accommodated on a single sheet.
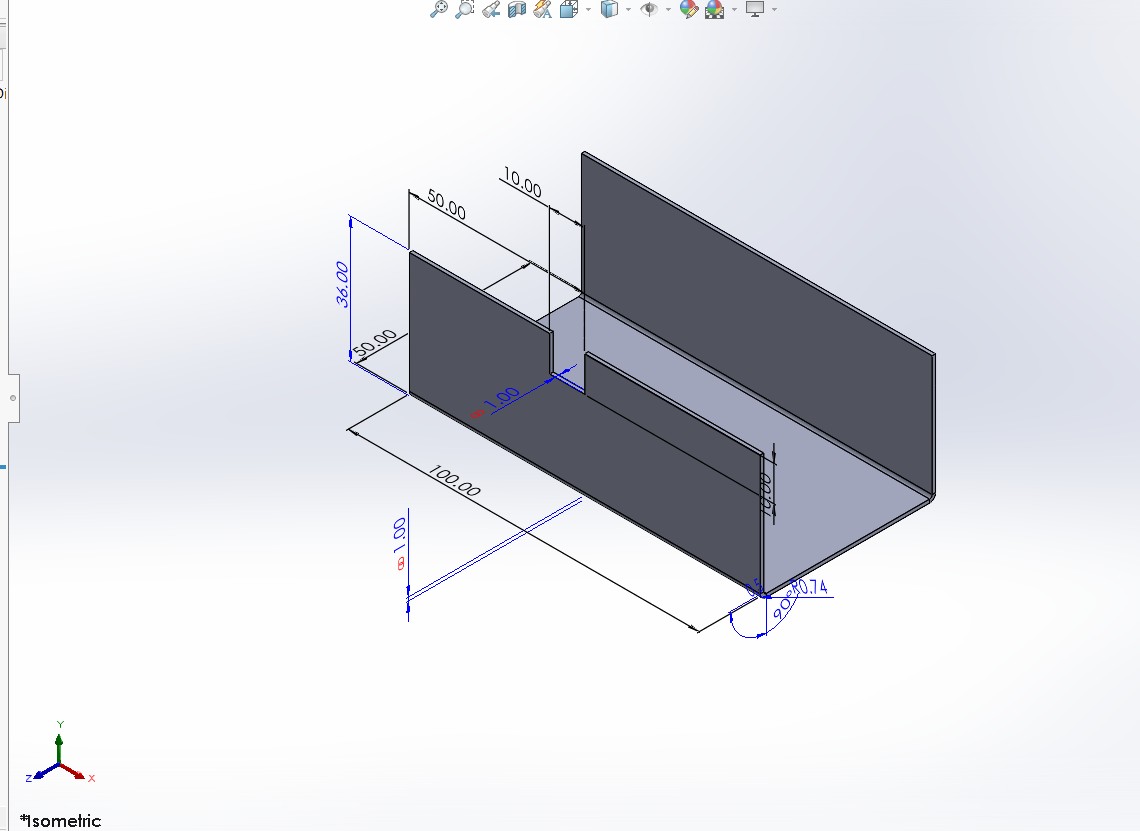
Step 1- Please generate the part according to the specified dimensions.
Step 2 - Kindly enable or activate the "Costing" tab.
Please navigate to the "Evaluate" tab, which can be found within the "Feature" tab.
To proceed, click on the arrow cursor button located within the "Evaluate" tab.
Select the "Costing" tab to proceed.
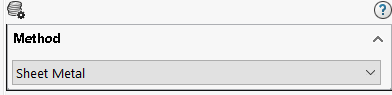
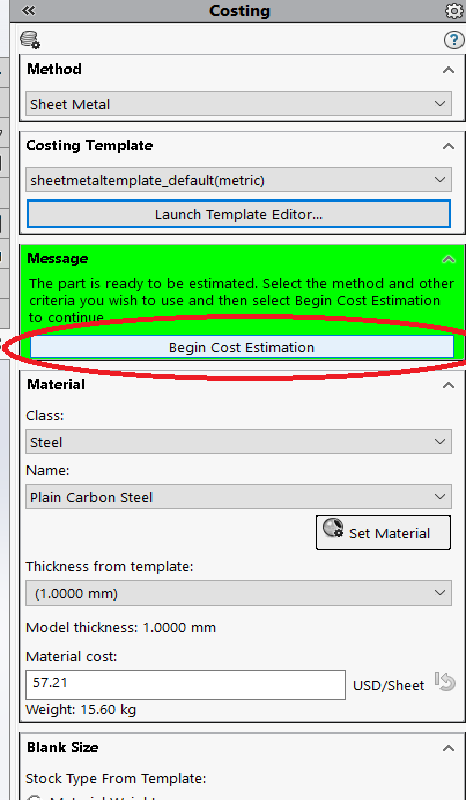
Step 3 – Let's establish the Costing parameters for the task at hand.
Please choose the "Sheet Metal" method from the available options.
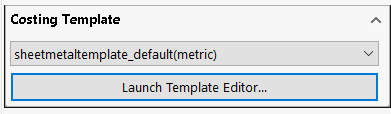
Now, please select the appropriate Costing Template. In this case, I've chosen the default costing template for sheet metal.
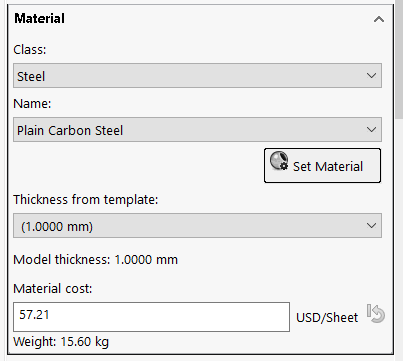
Following this, specify the material class and provide the material's name using the scroll bar. Additionally, define the material's thickness and the corresponding material costing per sheet.
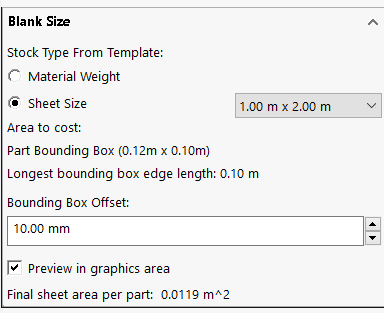
Step 4 – Next, let's define the blank size and select the appropriate stock type.
Under "Stock Type" in the template, select "Sheet size," and specify the sheet size from the available predefined sizes. You will observe the "Area to cost," which includes the Part Bounding box area and the longest bounding box edge length.
Now, define the bounding box offset, which represents the distance between other parts on the sheet. To visualize this, check the preview in graphics to view the bounding box in the graphical area.
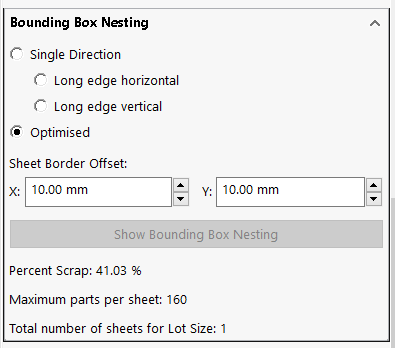
Step 5 – Let's proceed by defining the Bounding Box nesting parameters.
Enable the "Optimize" option and specify the sheet border offset for both X and Y coordinates.
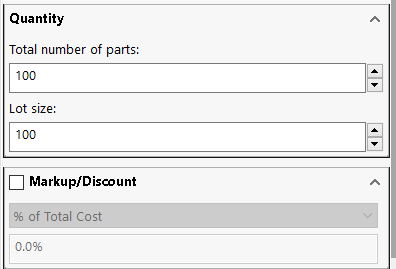
Step 6 – Now, specify the quantity and apply any markup discount if necessary.
Step 7 – Let's initiate the cost estimation process now.
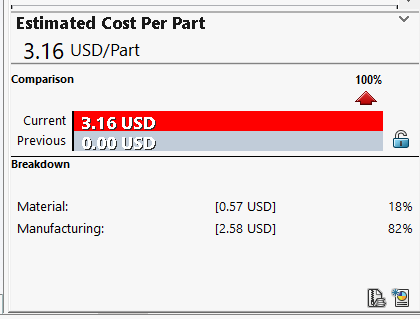
After commencing the Cost estimation process, you will receive the estimated cost per part along with a comparison between the previous and current pricing based on the chosen parameters. Additionally, you'll find detailed breakdowns of material and manufacturing costs as per the selected costing template.
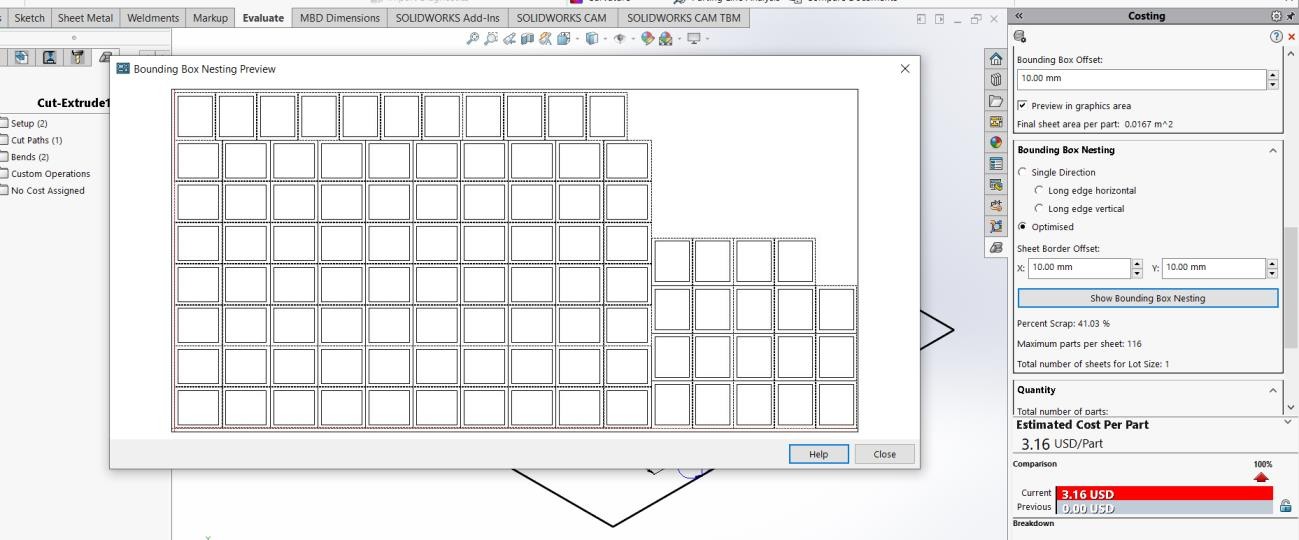
Step 8 – Let's proceed by activating the "Show bounding box nesting" option in the Bounding Box Nesting settings.
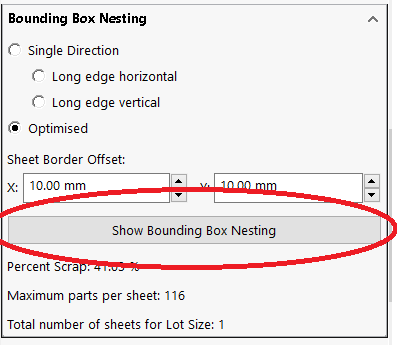
Upon activation, you will obtain the optimal arrangement of sheets, the percentage of scrap material, and the maximum number of parts that can be accommodated on a single sheet. This feature offers valuable insights into maximizing sheet utilization and minimizing material waste.
Engineering Technique is an Authorized Value-added Reseller of SOLIDWORKS Desktop 3D CAD & 3DEXPERIENCE Works Cloud CAD software in Ahmedabad, Vadodara, Surat, and all over Gujarat.
For Inquiry: Call on +91 94276 11239 | Email: marketing@enggtechnique.com
Author: Akshay Shelar, Customer Success Engineer – SOLIDWORKS & 3DEXPERIENCE Works